记录一下搭建过程
步骤:
-
使用scoop安装Hugo
- Scoop安装、配置与使用
Scoop是Windows的命令行安装程序,是一个强大的包管理工具。
安装
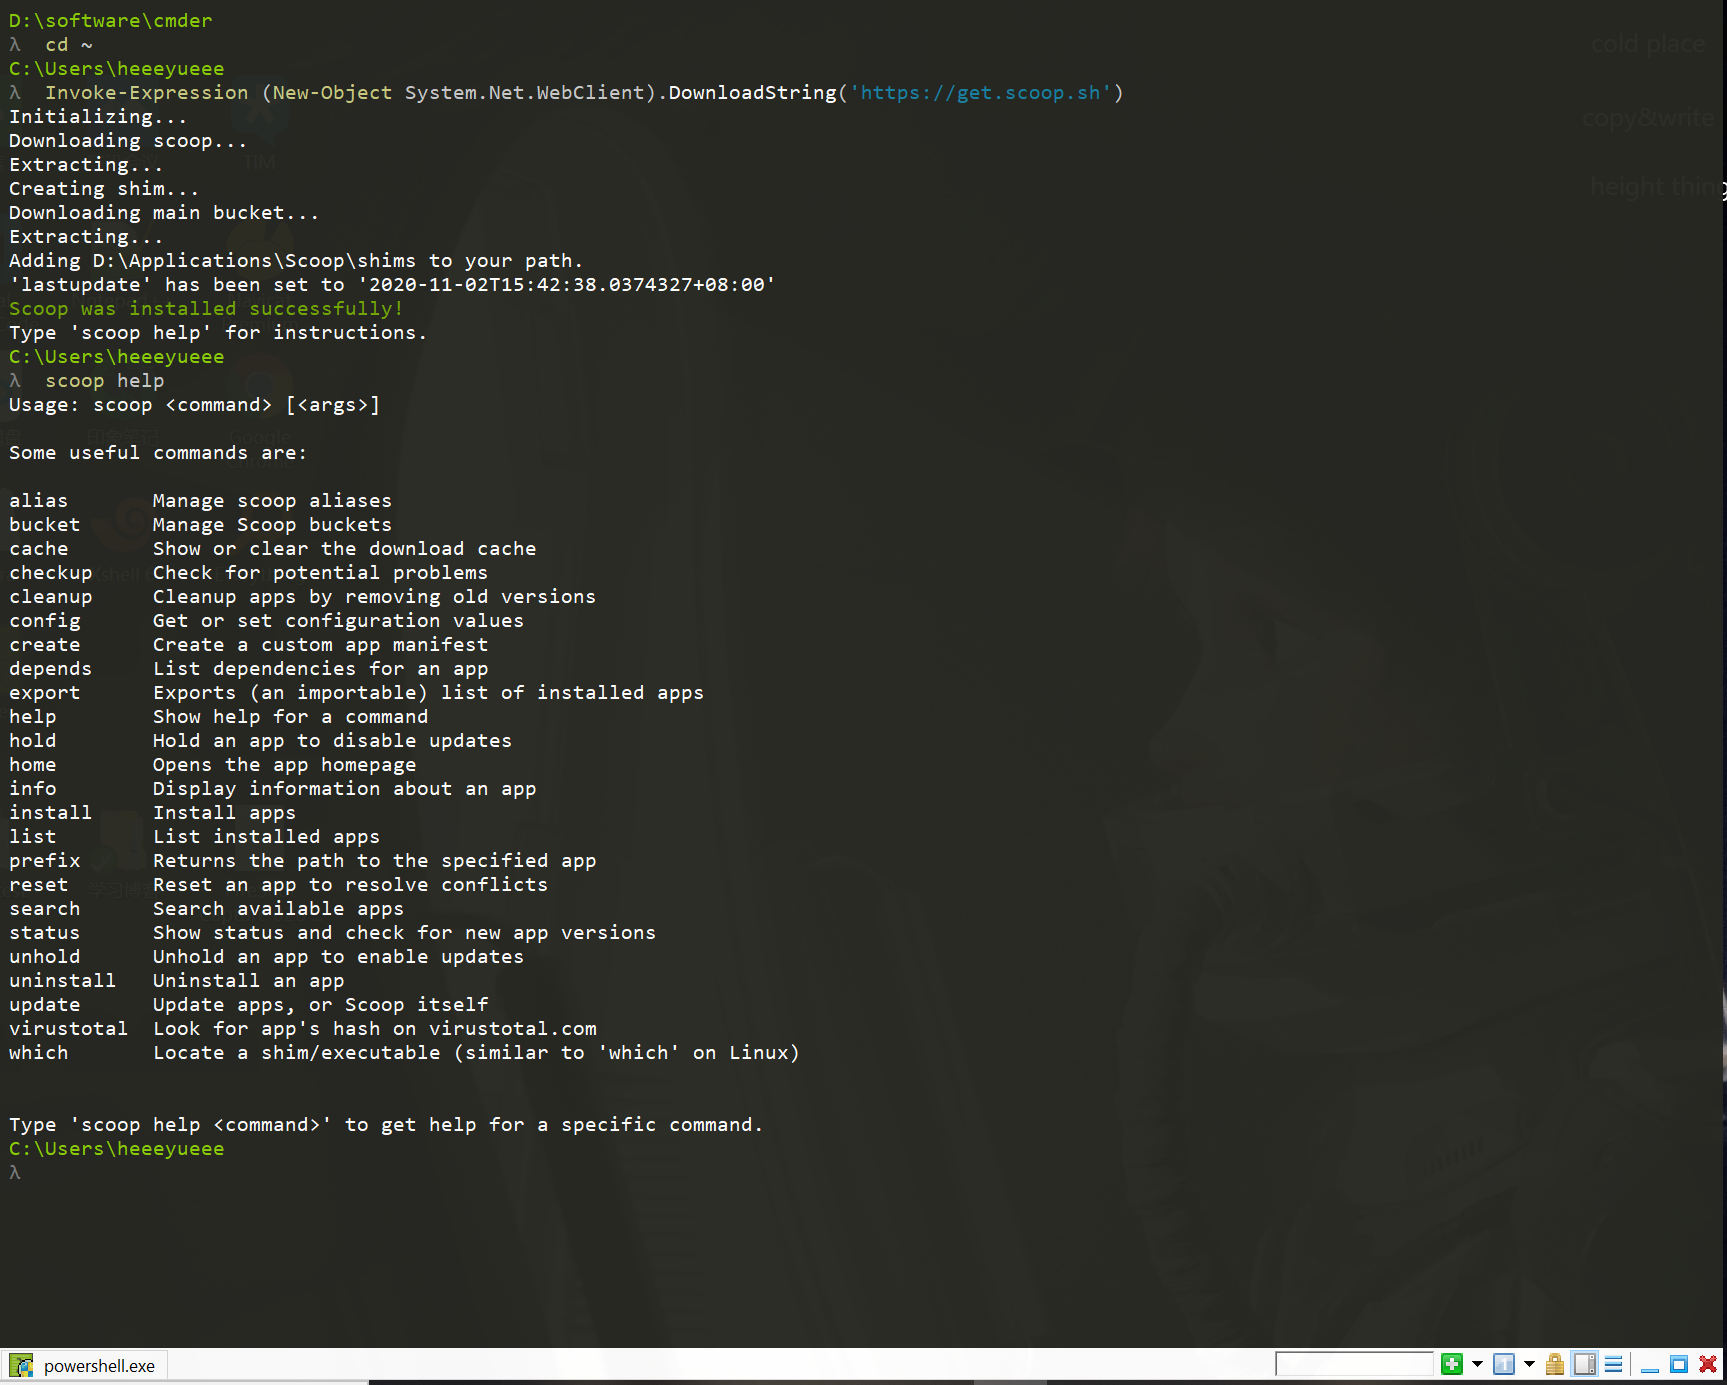
在Cmder的PowerShell中运行以下命令
Invoke-Expression (New-Object System.Net.WebClient).DownloadString('https://get.scoop.sh')输入scoop help验证是否成功 截图
配置
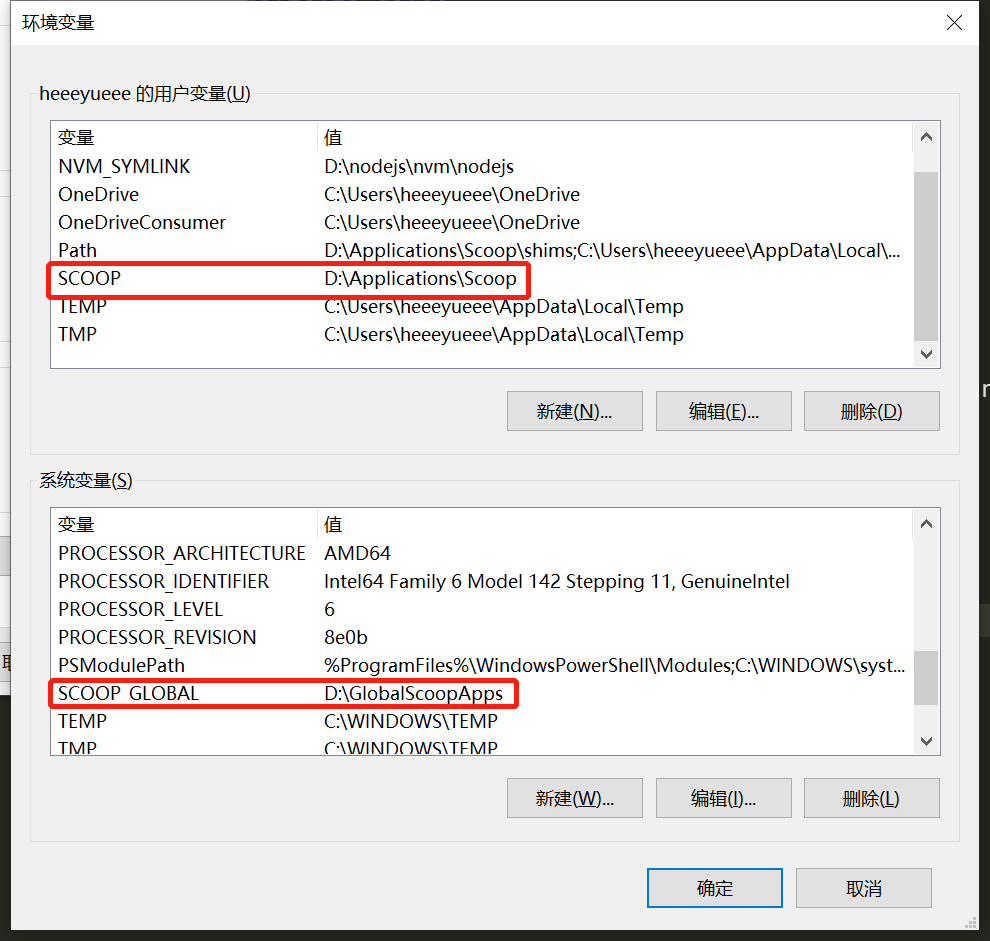
在cmd命令行中执行以下命令更改scoop安装路径
将Scoop安装到自定义目录(命令行方式)
$env:SCOOP='D:\Applications\Scoop'
[Environment]::SetEnvironmentVariable('SCOOP', $env:SCOOP, 'User')
将Scoop安装到自定义目录(命令行方式)
$env:SCOOP_GLOBAL='F:\GlobalScoopApps'
[Environment]::SetEnvironmentVariable('SCOOP_GLOBAL', $env:SCOOP_GLOBAL, 'Machine')
也可以手动更改目录
使用
- 安装aria2以加快scoop下载软件的速度
scoop install aria2- 下载hugo
scoop install hugo-extended截图
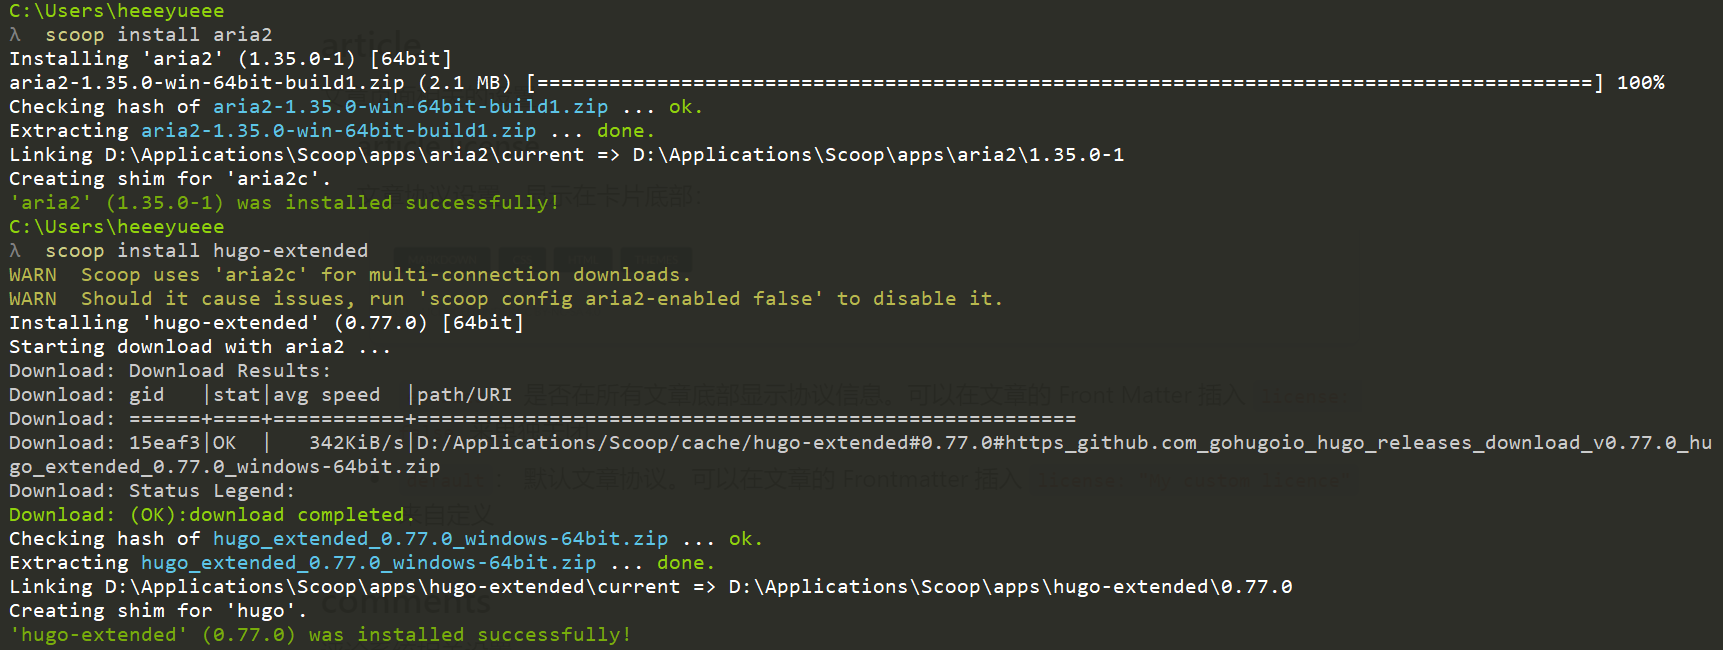
hugo的安装路径
D:\Applications\Scoop\apps\hugo-extended\0.77.0
-
使用Hugo快速生成站点
- 使用cmd命令行工具,在hugo的安装路径下执行命令:
$ hugo new site D:\hugoblog\heeeyueee(生成站点的目录)
- 安装主题
- 在站点目录的themes文件夹中使用git clone命令下载主题
$ git clone https://github.com/CaiJimmy/hugo-theme-stack.git- 依照主题配置config.toml文件,新建assets文件夹(慢慢研究)
- 运行Hugo
$ hugo server --theme=hugo-theme-stack --buildDrafts
- 部署
- 首先在GitHub上创建一个Repository,命名为:heeeyueee.github.io
- 在站点根目录执行 Hugo 命令生成最终页面:
$ hugo --theme=hyde --baseUrl="http://heeeyueee.github.io/" (或者直接打开config文件修改baseUrl 再运行 Hugo 命令)- 将pubilc目录里所有文件 push 到刚创建的Repository的 main 分支
$ cd public $ git init $ git remote add origin https://github.com/heeeyueee/heeeyueee.github.io.git $ git add -A $ git commit -m "first commit" $ git branch -M main $ git push -u origin main- 浏览器访问:http://heeeyueee.github.io/,成功!
写博客
-
使用hugo命令来创建文章目录
$ hugo new post/first.mdps:去掉文章头部的 draft=true
-
在文章目录中存放文章所需图片,markdown语法引入PicGo图床生成的图片
-
使用hugo命令来更新文章(把hugo命令设为全局变量)
hugo --theme=hugo-theme-fuji --baseUrl="https://heeeyueee.github.io/"
summary
希望自己能认真记录(词穷人太难了)